ML/Jupyter pod
Do you need to run your own Jupyter pod? Probably not!
We provide the JupyterHub service running in our cluster, which is great if you need to quickly run your workflow and do not want to learn any kubernetes. Proceed to JupyterHub Service for details.
If the JupyterHub service does not meet your needs, and you need to create your own JupyterLab instance, you can run it as a Jupyter container in Nautilus by following step by step instructions below.
This topic assumes that you have basic knowledge of Kubernetes, or you have completed the Quick Start and Basic kubernetes sections.
Step by Step Tensorflow with Jupyter
A Jupyter container in Nautilus will be automatically destroyed in 6 hours. Use the examples for Jobs once you're done with interactive debugging and ready to run a bigger job.
Step 1: Set context
Let's set the default namespace to avoid typing it for every command. Use your own namespace in the following command:
$ kubectl config set-context nautilus --namespace=<YOUR_NAMESPACE>
Check the default context with command and check your own namespace is listed under the NAMESPACE column
$ kubectl config get-contexts
CURRENT   NAME       CLUSTER    AUTHINFO                                  NAMESPACE
*         nautilus   nautilus   http://cilogon.org/serverA/users/123456   YOUR_NAMESPACE
Step 2: Create Tensorflow pod
-
Create a tensorflow pod
You can copy and paste the following text in your terminal window:cat << EOF | kubectl create -f - apiVersion: v1 kind: Pod metadata: name: gpu-pod-example spec: containers: - name: gpu-container image: gitlab-registry.nrp-nautilus.io/prp/jupyter-stack/tensorflow command: ["sleep", "infinity"] resources: limits: nvidia.com/gpu: 1 EOFOr you can create a tensorflow-pod.yaml file with the content:
apiVersion: v1
  kind: Pod
  metadata:
    name: gpu-pod-example
  spec:
    containers:
    - name: gpu-container
      image: gitlab-registry.nrp-nautilus.io/prp/jupyter-stack/tensorflow
      command: ["sleep", "infinity"]
      resources:
        limits:
          nvidia.com/gpu: 1
and then deploy it with
kubectl create -f tensorflow-pod.yaml -
Check the pod is running
$ kubectl get pods
NAME                                 READY     STATUS    RESTARTS   AGE
gpu-pod-example                      1/1       Running   0          1m
The output should give you the list of pods running or pending in your namespace, including "gpu-pod-example".
-
Login into your tensorflow pod
If thekubectl get podscommand lists the pod's status as "Running", run thekubectlcommand listed below. In the command, the -i flag asks for bash to be executed interactively and -t flag allocates an access to a terminal. That is to say you want to have an interactive shell login on your pod.kubectl exec -it gpu-pod-example -- bashA successful execution should result in the output similar to:
To run a command as administrator (user "root"), use "sudo <command>".
See "man sudo_root" for details.
jovyan@gpu-pod-example:~$
At this point you can already run some code from command line. Keep reading if you want jupyter GUI interface.
(If you stop here, don't forget to tear down from step 4)
Step 3: Run Jupyter notebook
-
Start Jupyter notebook
In the newly running bash prompt running on the nautilus kubernetes container:jovyan@gpu-pod-example:~$ jupyter notebook --ip='0.0.0.0'You should see the output similar to:
[I 20:41:07.016 NotebookApp] Writing notebook server cookie secret to /home/jovyan/.local/share/jupyter/runtime/notebook_cookie_secret
[I 20:41:07.490 NotebookApp] [jupyter_nbextensions_configurator] enabled 0.4.1
[I 20:41:07.552 NotebookApp] JupyterLab extension loaded from /opt/conda/lib/python3.6/site-packages/jupyterlab
[I 20:41:07.553 NotebookApp] JupyterLab application directory is /opt/conda/share/jupyter/lab
[I 20:41:07.559 NotebookApp] Serving notebooks from local directory: /home/jovyan
[I 20:41:07.559 NotebookApp] The Jupyter Notebook is running at:
[I 20:41:07.559 NotebookApp] http://(gpu-pod-example or 127.0.0.1):8888/?token=1143648a7edaeca023b1234563d20edcf596a789c9b5c6e1
[I 20:41:07.559 NotebookApp] Use Control-C to stop this server and shut down all kernels (twice to skip confirmation).
[C 20:41:07.567 NotebookApp]

    To access the notebook, open this file in a browser:
   file:///home/jovyan/.local/share/jupyter/runtime/nbserver-28-open.html
    Or copy and paste one of these URLs:
        http://(gpu-pod-example or 127.0.0.1):8888/?token=1143648a7edaeca023b1234563d20edcf596a789c9b5c6e1
Take note of the token at the end of the output. We will use it to login Jupyter Notebook. Do not close this terminal window or type
Ctrl - Cto terminate the process. -
Setup port forwarding
In a separate terminal window on your local machine run port-forward to access the pod. Here we tell kubectl to forward any request to your local host port 8888 from a remote host (container) port 8888.kubectl port-forward gpu-pod-example 8888:8888A successful command results in the output
Forwarding from 127.0.0.1:8888 -> 8888 Forwarding from [::1]:8888 -> 8888 -
Connect to Jupyter
In a new web browser window connect to an address localhost:8888, you should see the following page: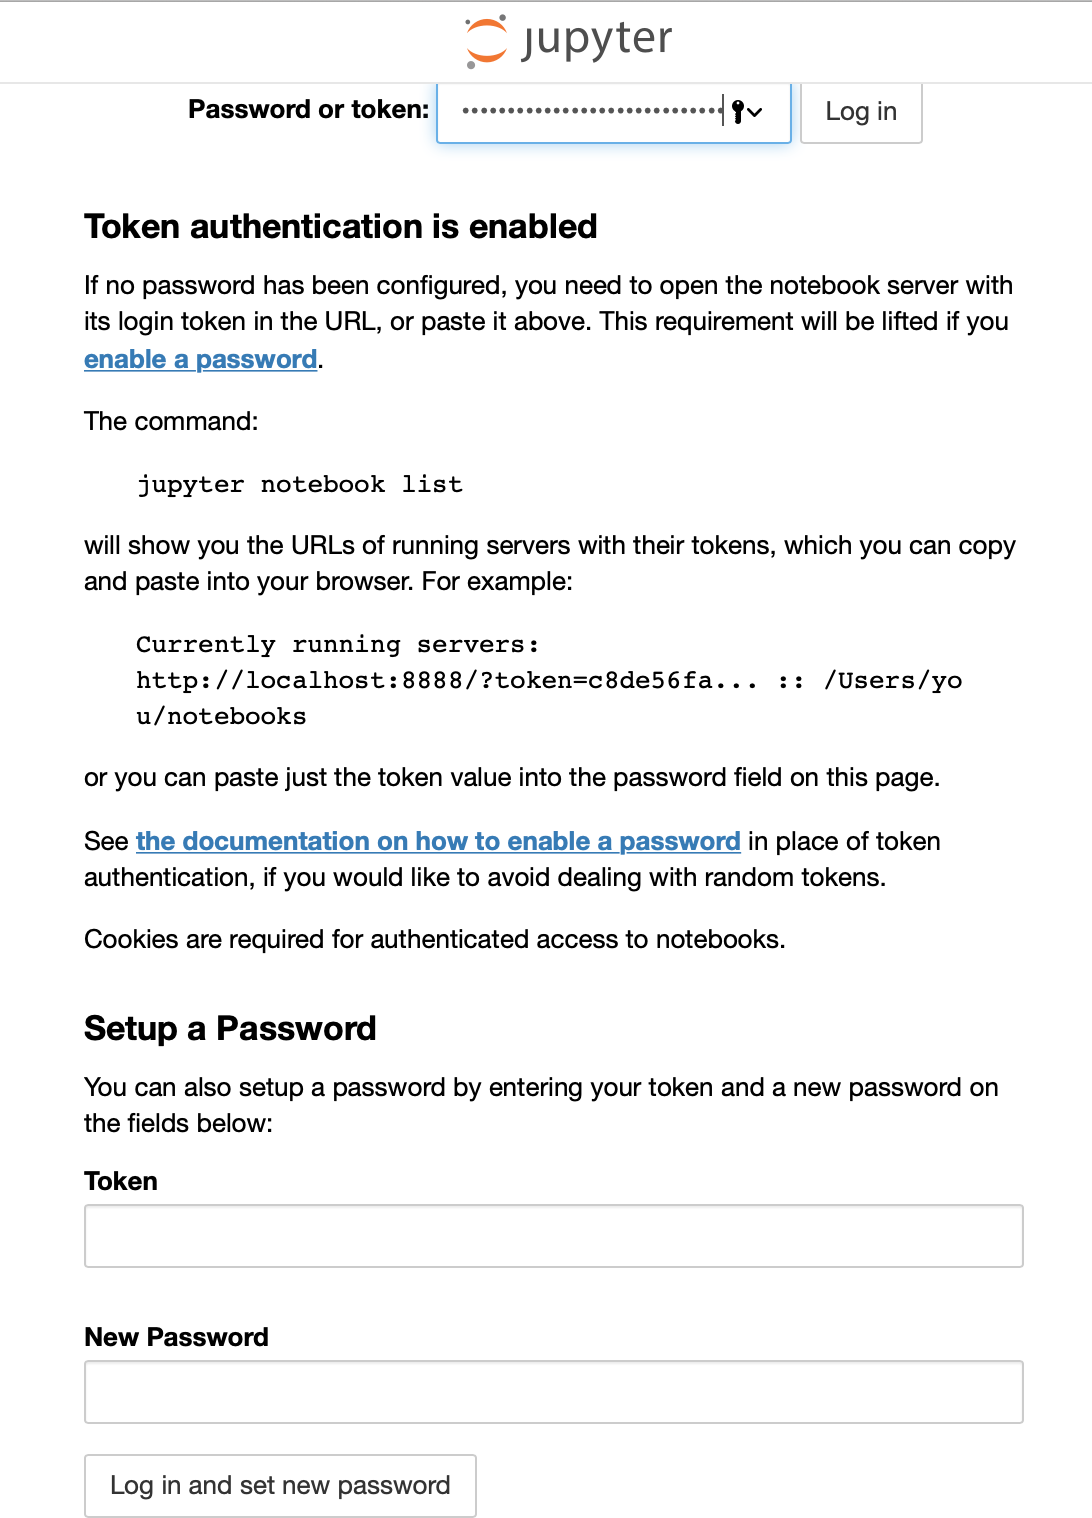
Enter the previously saved token on the Password or Token line at the top of the page. Optionally, to set a password follow direcitons on the page. Click appropriate Log in button.
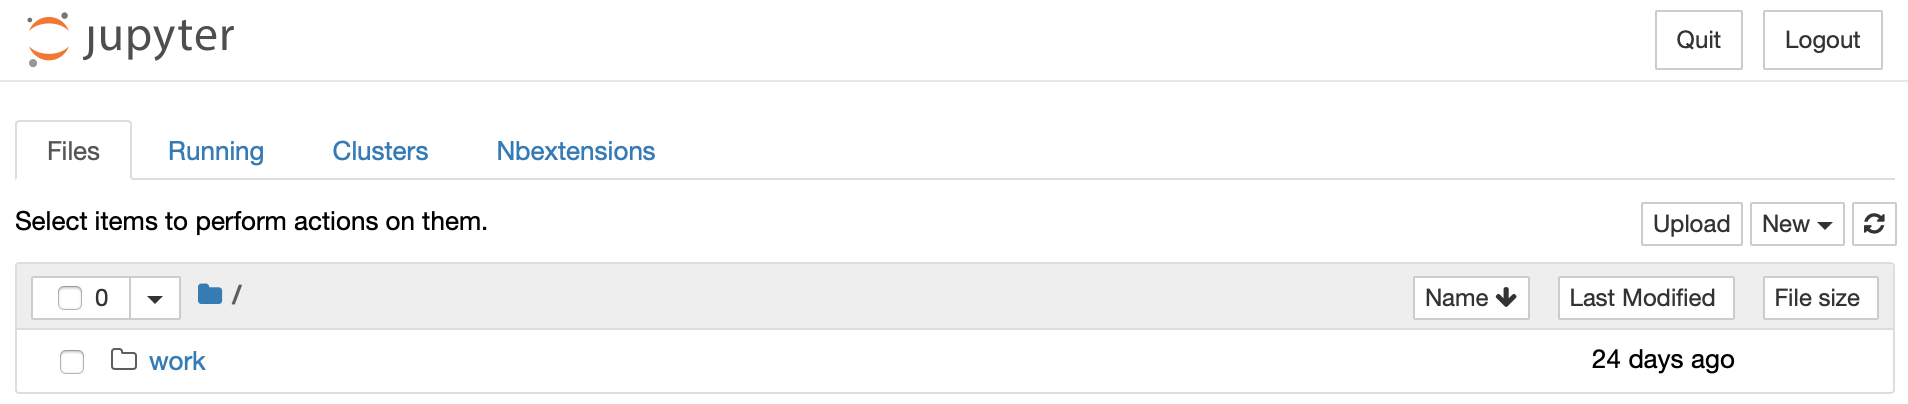
You get a Jupyter notebook with access to tensorflow:
Note: Once you are finished, we'll tear down our setup.
Step 4: Tear down
It is important to tear down everything once we are done with the Jupyter to free up resources for others.
- Close your web browser window with Jupyter notebook once you are finished.
- Shutdown the proxy
In the terminal window where you executed port forwarding command, pressCtrl-C. This will stop local machine connection to the remote container. -
Shutdown the Jupyter Server
PressCtrl-Ctwice on the terminal window where you are logged in on a container and where jupyter server is running. You should see something along:Shutdown this notebook server (y/[n])? ^C stopping I 17:44:16.657 NotebookApp] Shutting down 2 kernels [I 17:44:22.181 NotebookApp] Kernel shutdown: 651a1901-da9b-4465-9bbb-1b77775ee5ca [I 17:44:22.191 NotebookApp] Kernel shutdown: 93b5f0d5-b2ba-44a4-af7e-fb46eb19dc48This will stop the running
jupyter notebook, but will not free up the resources taken by our Pod. -
Logout form your container
Exit the current container shell and you should be back on your machine:jovyan@gpu-pod-example:~$ exit exit -
Delete the pod
Check the pod is still running$ kubectl get pods NAME READY STATUS RESTARTS AGE gpu-pod-example 1/1 Running 0 36mRemove the pod
kubectl delete pod gpu-pod-exampleCheck the pod is terminating
$ kubectl get pods
NAME              READY     STATUS        RESTARTS   AGE
gpu-pod-example   1/1       Terminating   0          37m
You can see the pod is currently being terminated under the STATUS column. If you retry after a minute or so you should see no resources anymore.
$ kubectl get pods
No resources found.
This will free up the resources taken by our Pod.
So far you have created an instance of Jupyter Notebook for personal use, if you prefer to create a full stack multi-user JupyterHub, proceed to Deploy jupyterhub.